

Getting a fastener wrong mid-project is more than frustrating. It can mean split timber, stripped threads, or a structural connection that fails under load. In Australia’s harsh conditions, from coastal salt air to the punishing heat of the outback, the consequences of poor fastener selection and sloppy installation compound quickly. This guide walks you through everything you need to know: choosing the right tools and materials, prepping surfaces correctly, executing installation with confidence, and verifying your work so problems don’t come back to bite you later.
Table of Contents
- Essential tools and materials for fastener installation
- Preparation: prepping surfaces and fasteners
- Step-by-step fastener installation for common materials
- Verifying installation and troubleshooting common mistakes
- Sourcing quality fasteners and support for your projects
- Frequently asked questions
Key Takeaways
| Point | Details |
|---|---|
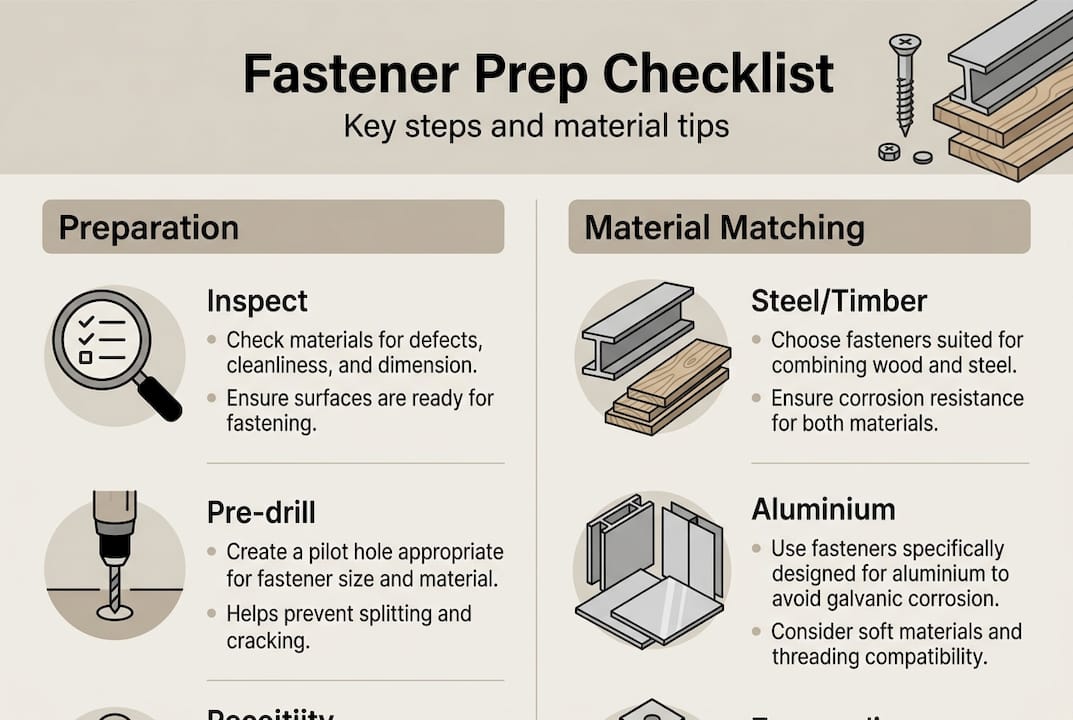
| Preparation is crucial | Inspect fasteners and surfaces, and pre-drill when needed to avoid costly mistakes. |
| Material matching prevents corrosion | Always pair fastener types to the material for longevity, especially in harsh climates. |
| Step-by-step prevents errors | Following a structured installation method delivers safe, reliable results across timber, aluminium, and steel. |
| Regular inspection matters | Checking installation tightness and fastener condition helps prevent structural failures. |
Essential tools and materials for fastener installation
Before you drive a single screw or swing a hammer, having the right gear on hand saves time and prevents costly rework. A well-stocked toolkit is the foundation of any reliable fastener installation.
Here’s what you’ll need for most jobs:
- Drill/driver with adjustable torque settings
- Screwdrivers (Phillips, flathead, and Torx for specialty fasteners)
- Socket set for bolts and nuts
- Measuring tape and square for accurate placement
- Centre punch to mark drill points on metal
- Safety glasses and gloves (non-negotiable)
Choosing the right fastener type for your material is just as important as having the right tool. Corrugated fasteners for wood and metal are ideal for joining timber frames, while hardened steel nails suit structural timber applications where shear strength matters.
| Material | Recommended fastener | Key consideration |
|---|---|---|
| Timber | Galvanised screws or nails | Avoid plain steel in wet conditions |
| Aluminium | Stainless or aluminium fasteners | Use washers; prevent galvanic corrosion |
| Steel | High-tensile bolts | Match grade to load requirements |
| Composite | Coated screws | Check manufacturer specs for compatibility |
One of the most overlooked rules in fastener selection is material compatibility. As fastener material compatibility advice confirms, you must match fastener material to avoid corrosion. Mixing steel fasteners with aluminium framing, for example, creates a galvanic cell that quietly destroys the connection over time. Apply anti-seize compound to stainless fasteners in stainless assemblies to prevent galling during installation.
With a clear understanding of what you need, let’s move into the critical steps for prepping your work surface and fasteners.
Preparation: prepping surfaces and fasteners
Rushing the prep stage is where most installation problems begin. A few minutes of careful preparation prevents hours of remediation later.
Start by inspecting every fastener before use. Look for:
- Thread deformities or cross-threading damage
- Corrosion or pitting on the shank or head
- Bent shanks on nails or staples
- Damaged drive recesses on screw heads
Discard anything that looks compromised. A faulty fastener costs cents to replace and dollars to fix after the fact.
For surface preparation, clean all mating surfaces thoroughly. Aluminium and steel joints in particular need to be free of grease, oxidation, and debris before fastening. A wire brush or abrasive pad works well for metal; for timber, ensure the surface is dry and free of loose fibres.
Safety first: Always wear eye protection and gloves when drilling or driving fasteners into metal. Metal swarf and wood chips travel fast and far.
Pre-drilling pilot holes is one of the most important steps you can take. Pre-drill pilot holes for self-tapping screws in metal or wood to prevent splitting and ensure a clean, straight drive. The pilot hole diameter should be slightly smaller than the fastener’s core diameter, not the thread diameter. For bugle batten screw installation into hardwood or structural timber, this step is essential to avoid cracking along the grain.
Pro Tip: When working with steel nails for prepping timber, blunting the nail tip slightly with a hammer before driving reduces the wedging effect that causes timber to split. It sounds counterintuitive, but it works.
If you’re using bolts, check the torque specifications for your application before you start. Under-torqued bolts vibrate loose; over-torqued bolts stretch and weaken. Both failures are avoidable with a torque wrench and a few seconds of checking.
Once your work area and fasteners are prepped, it’s time to get hands-on with step-by-step installation.
Step-by-step fastener installation for common materials
Different materials demand different approaches. Here’s how to handle the three most common scenarios on Australian job sites.
Installing screws into timber:
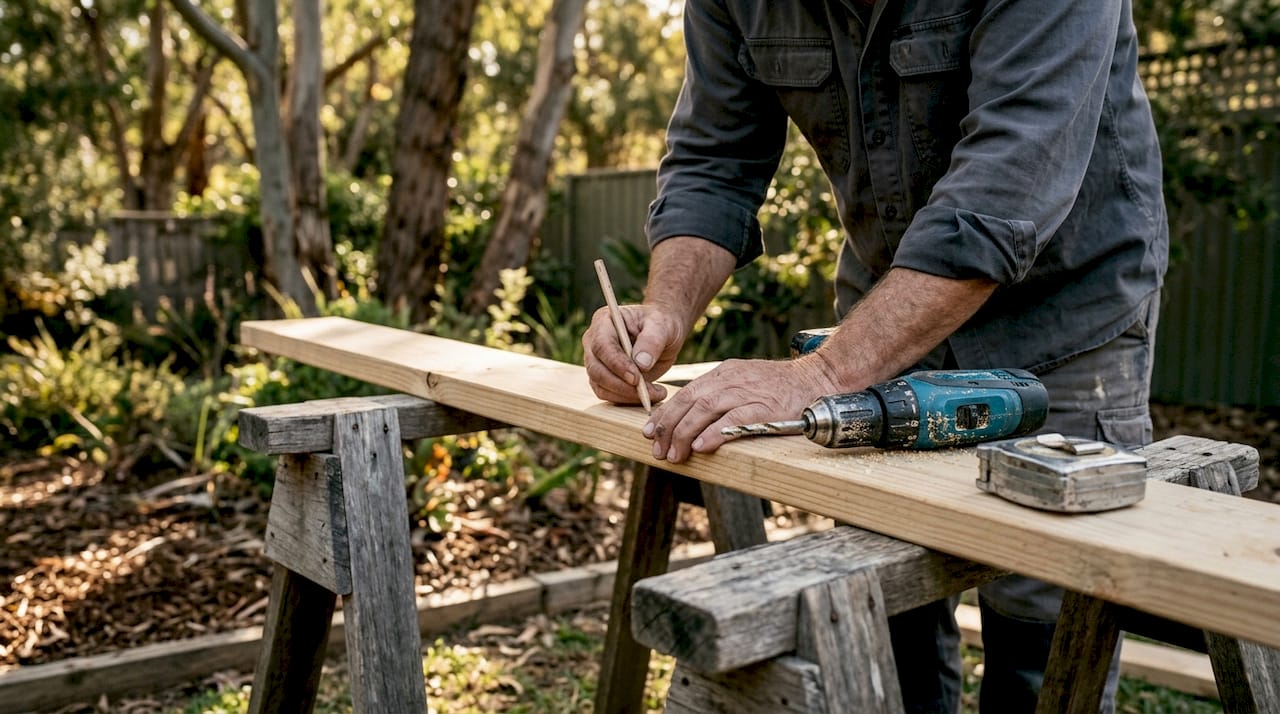
- Mark your fastener positions with a pencil and square.
- Drill a pilot hole to the correct depth (typically 75% of the screw length).
- If countersinking, use a countersink bit before driving.
- Drive the screw at low speed with firm, consistent pressure.
- Stop when the head sits flush. Overdriving strips the timber and weakens the hold.
Installing bolts into aluminium or steel:
- Drill a clearance hole through both pieces.
- Deburr the hole edges with a countersink bit or file.
- Insert the bolt and add a washer under both the head and the nut.
- Hand-tighten first, then use a torque wrench to reach the specified value.
- Torque specs are critical; use anti-seize on stainless to prevent galling during tightening.
Installing nails and staples:
- Choose the correct nail length: typically 2.5 times the thickness of the top piece.
- For pneumatic tools, set the pressure to match the material density.
- Drive at a slight angle (toe-nailing) for improved holding power in framing.
- Check coil nail techniques for fencing applications where screw-shank nails dramatically outperform smooth-shank in pull-out resistance.
| Fastener type | Best material | Common mistake | Fix |
|---|---|---|---|
| Bugle screw | Timber, plasterboard | Overdriving | Set clutch depth |
| Hex bolt | Steel, aluminium | Under-torquing | Use torque wrench |
| Coil nail | Framing, fencing | Wrong shank type | Match shank to load |
| Corrugated fastener | Timber joints | Shallow drive | Use correct driver |
For modular aluminium framing, T-slot nuts offer a significant advantage: they allow you to reposition connections without drilling new holes. Pair them with the right bolt grade and you have an adjustable, reusable system. Check corrugated fasteners installation options for timber joinery where a mechanical interlock is needed across the grain.
Pro Tip: Never reuse a bolt that shows any sign of thread stretch or deformation. The cost of a new bolt is trivial compared to the liability of a failed connection.
After installation, knowing how to check results and troubleshoot problems ensures reliable and safe outcomes.
Verifying installation and troubleshooting common mistakes
Once the fasteners are in, your job isn’t done. A quick verification check catches problems before they become structural issues.
Run through this checklist after every installation:
- Tightness: Attempt to move each connection by hand. Any play indicates under-torquing or a stripped thread.
- Alignment: Check that fasteners sit flush and straight. Canted screws or proud bolt heads indicate a pilot hole issue.
- Corrosion signs: Look for rust staining, white oxidation on aluminium, or discolouration at the joint.
- Insulation: Where dissimilar metals meet, confirm that isolation washers or coatings are in place.
For loose fasteners, don’t just re-tighten. Identify why they came loose first. Vibration, thermal expansion, and incorrect torque are the three most common culprits. In high-vibration environments, use thread-locking compound or nylon-insert lock nuts.
Stripped screw heads are a common frustration. A rubber band placed between the driver bit and the screw head often provides enough grip to back out a stripped fastener. For badly stripped heads, a screw extractor kit is the reliable solution.
Regular inspection matters enormously in Australian conditions. Coastal environments accelerate corrosion, and the thermal cycling between hot days and cool nights works fasteners loose over time. Fastener inspection techniques recommend checking connections at least annually in exposed locations. You can reuse bolts if no wear is present, but always inspect threads and shanks carefully before reinstalling.
For frame nail troubleshooting in structural timber, look for nail pop (where the nail head protrudes over time) as a sign of timber movement or incorrect nail type. Bright steel nails in exterior applications are a common source of this problem; switching to galvanised or stainless resolves it.
Most fastener failures in construction trace back to one of three root causes: wrong material selection, skipped preparation steps, or incorrect torque. Address all three and your installations will outlast the project itself.
Sourcing quality fasteners and support for your projects
Knowing the right techniques is only half the equation. Having access to quality fasteners and the right tools makes the difference between a job that holds and one that doesn’t.
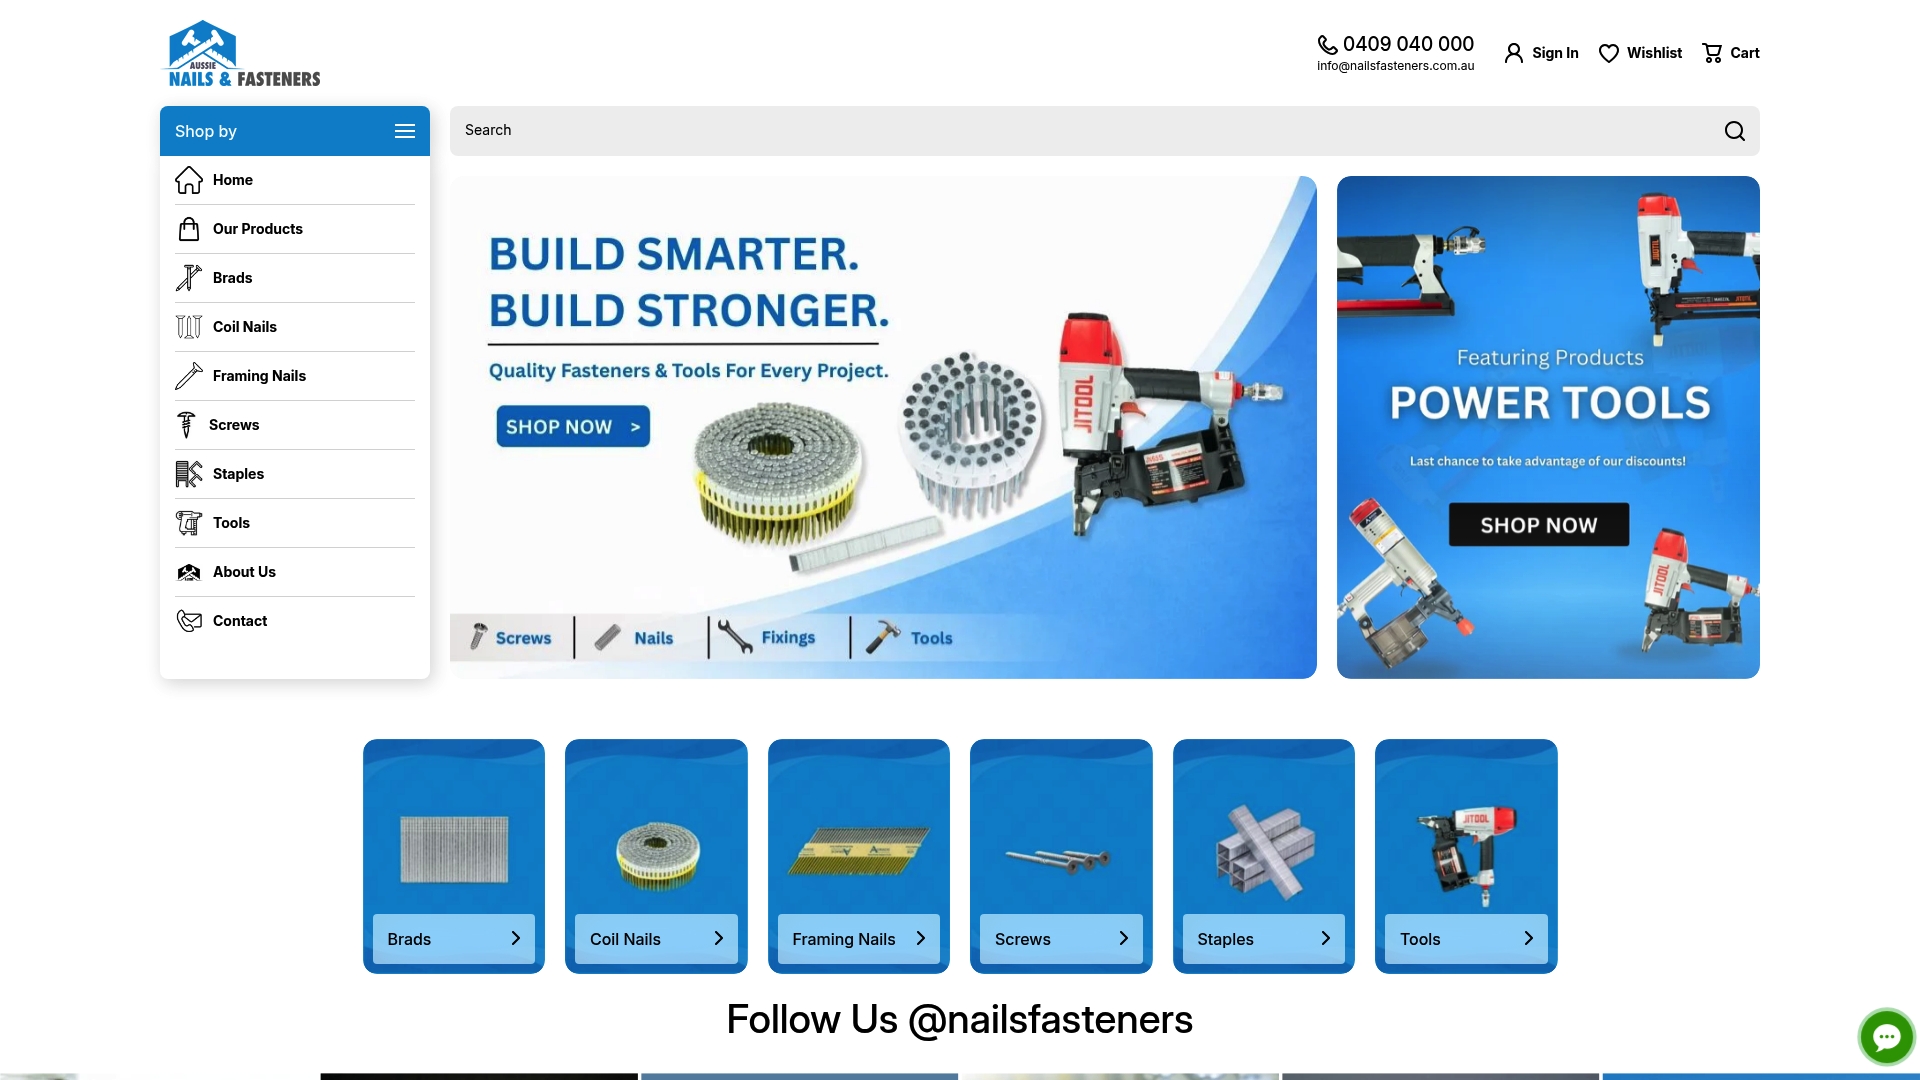
At Aussie Nails and Fasteners Warehouse, we stock everything covered in this guide and more. Browse our corrugated fasteners range for timber joinery, pick up galvanised bugle batten screws for structural timber applications, or explore our full fastener tools collection to find the pneumatic and hand tools that match your workflow. As an Australian-owned business, we understand local conditions and stock products from trusted brands including JITOOL, APlus, and Supco. Whether you’re a tradie on a tight schedule or a DIY enthusiast tackling a weekend build, we’ve got the stock, the knowledge, and the competitive pricing to back you up.
Frequently asked questions
What’s the best way to prevent fastener corrosion in coastal Australian environments?
Choose galvanised or stainless fasteners and always match them to the base material; avoid mixing steel and aluminium, which causes galvanic corrosion that degrades connections rapidly in salt-laden air.
Do I really need to pre-drill pilot holes for screws?
Yes, pre-drilling prevents splitting timber and makes for a cleaner installation, especially when working with hardwoods or metals where thread engagement is critical.
How can I tell if a bolt can be reused?
Visually inspect for any signs of wear, thread stripping, or deformation; only reuse bolts if they remain in excellent condition with no visible stretch or damage to the threads.
Why are washers recommended for aluminium connections?
Washers spread the clamping load across a larger surface area, preventing the bolt head or nut from embedding into the softer aluminium and improving the long-term integrity of the connection.
Recommended
- CORRUGATED FASTENERS Electro Galvanised 13MM – Aussie Nails and Fasteners Warehouse
- CORRUGATED FASTENERS Electro Galvanised 10MM – Aussie Nails and Fasteners Warehouse
- 34° Framing Nails 90mm Electro Galvanised – Aussie Nails and Fasteners Warehouse
- 34° Framing Nails 75mm Electro Galvanised – Aussie Nails and Fasteners Warehouse
- Outdoor Signage Installation Guide for Lasting Results -