

TL;DR:
- Australian building standards require specific nail types, sizes, and coatings for durability and safety.
- Proper nail selection involves considering timber type, exposure, load, and moisture conditions.
- Incorrect nail choices lead to joint failure, repairs, and potential project penalties.
Not all nails are created equal, and on an Australian worksite, that distinction can mean the difference between a build that stands for decades and one that fails inspection. Many builders grab whatever nails are on hand, assuming the fastener is the least important decision on the job. That assumption costs time, money, and sometimes structural integrity. Australia’s building environment is demanding, with high humidity, cyclonic zones, corrosive coastal air, and hardwood timbers that punish the wrong fastener fast. This guide breaks down the main nail types used in Australian construction, the standards that govern them, and how to choose the right one for every application.
Table of Contents
- Understanding nail standards and key factors in Australia
- Common nail types used in Australian building
- How to select the right nail for your project
- Practical installation tips and common pitfalls
- A seasoned builder’s take: Where nail choice goes wrong (and right)
- Find the right nails and fasteners for your next project
- Frequently asked questions
Key Takeaways
| Point | Details |
|---|---|
| Follow Australian standards | Always select nails that comply with AS 1720.1 for safety, durability, and code compliance. |
| Match nail type to project | Different jobs call for different nails — consider timber type, joint strength, and exposure. |
| Install correctly | Correct penetration, spacing, and method are critical to prevent failures and meet regulations. |
| Avoid common mistakes | Using the wrong nail or poor installation leads to structural issues and expensive callbacks. |
Understanding nail standards and key factors in Australia
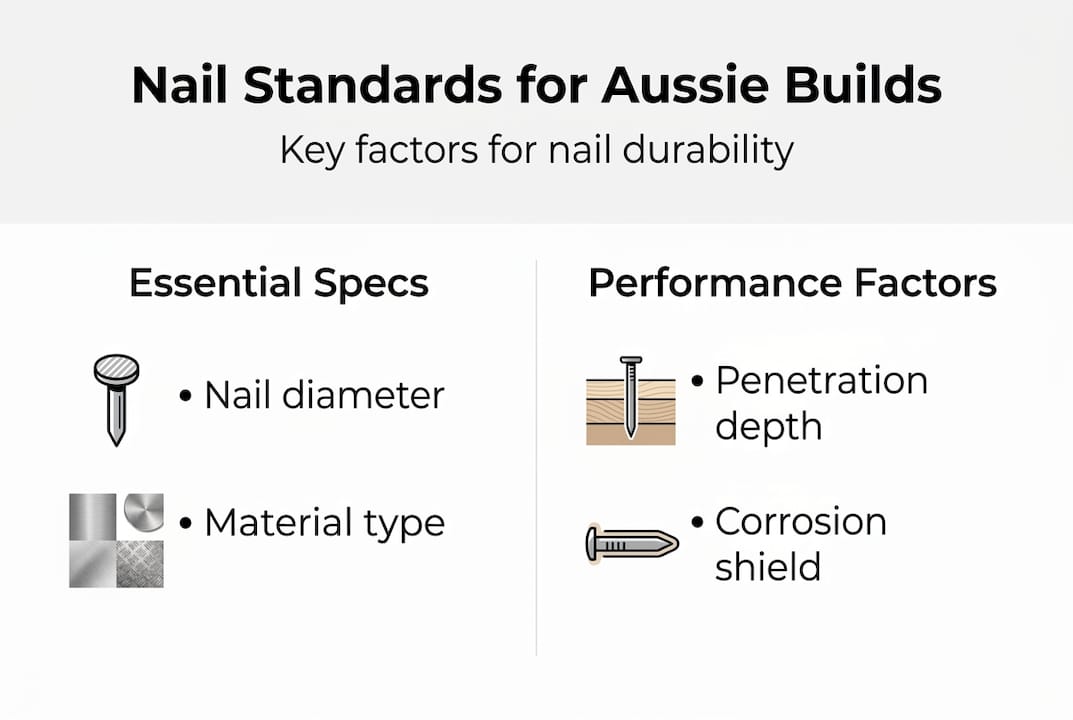
Before you reach for a nail gun or a hammer, you need to understand what the rules say. AS 1720.1 timber nail standards govern timber nail connections in Australia, specifying characteristic capacities for plain shank low carbon steel nails in Tables 4.1 and 4.2. This standard is not optional. It defines the minimum requirements for nail joints in structural timber, and ignoring it puts your build, your licence, and your client at risk.
The standard covers several critical parameters that affect how a nail performs in service. These include nail diameter and length, penetration depth into the receiving member, timber joint group (which reflects species density), moisture content of the timber, and minimum spacing between nails. Each of these variables changes the load capacity of the joint. A nail that works perfectly in a dry softwood frame may be completely inadequate in a wet hardwood application.
Pre-boring is another requirement that many builders overlook. In dense or split-prone timbers, AS 1720.1 requires pilot holes to prevent splitting during driving. Skip this step and you risk cracked members, reduced joint capacity, and non-compliant work.
Common mistakes builders make with nail compliance:
- Using nails that are too short, reducing penetration depth below the minimum
- Ignoring timber joint group ratings when specifying nail size
- Spacing nails too close together, which reduces the load capacity of the joint
- Using interior-grade nails in exposed or wet conditions
- Skipping pre-boring in hardwood or split-prone timber
- Failing to account for moisture content changes after installation
Summary of key AS 1720.1 requirements for nail joints:
| Parameter | Requirement |
|---|---|
| Nail material | Low carbon steel, plain or deformed shank |
| Penetration depth | Minimum specified per timber joint group |
| Timber joint group | J1 to J6, based on species and density |
| Nail spacing | Minimum edge, end, and between-nail distances |
| Pre-boring | Required in split-prone or dense timbers |
| Moisture condition | Dry or wet service class affects capacity |
Understanding these requirements is the foundation of good fastener practice. For a broader view of how nails fit within a wider fastening strategy, the guide on woodworking fastener types for Australian projects is worth your time. You can also explore key fasteners for Australian construction to see how nails compare with screws, bolts, and staples across different applications.
Common nail types used in Australian building
With the standards in mind, it is time to look at what is actually available and what each nail type brings to the job.
Overview of common nail types:
- Plain shank nails: The most basic option. Smooth shaft, easy to drive, but lower withdrawal resistance. Best for light framing and general carpentry in dry conditions.
- Ring shank nails: Feature annular rings along the shank that grip timber fibres. Ring shank nails provide empirically superior withdrawal resistance, making them the preferred choice for flooring, decking, and structural connections where pull-out is a concern.
- T-nails: Flat-headed nails designed for pneumatic nailers, widely used in framing and truss work. Fast to install and consistent in depth.
- Coil nails: Nails joined in a coil magazine for high-volume pneumatic tools. Suited to framing, cladding, and pallet work where speed matters.
- Electro-galvanised nails: Coated with a thin zinc layer for mild corrosion resistance. Suitable for interior applications but not for harsh outdoor or coastal environments.
- Hot-dipped galvanised nails: Thicker zinc coating, far superior corrosion resistance. Required for outdoor structural work, decking, and coastal builds.
Nail type comparison:
| Nail type | Best use | Timber match | Compliance note |
|---|---|---|---|
| Plain shank | Interior framing | Softwood | Check penetration depth |
| Ring shank | Flooring, decking | Hard and softwood | Superior withdrawal per AS 1720.1 |
| T-nail | Framing, trusses | Softwood, LVL | Use galvanised T nails outdoors |
| Coil nail | High-volume framing | Softwood | Smooth shank coil nails for frame and truss |
| Electro-galvanised | Interior only | Softwood | Not for wet or coastal use |
| Hot-dipped galvanised | Outdoor, structural | Hard and softwood | Required in exposed conditions |
Pro Tip: One of the most common and costly mistakes on Australian worksites is using interior-grade electro-galvanised nails for outdoor structural work. Within a few seasons, corrosion weakens the joint and you are looking at callbacks, repairs, and potentially failed inspections. Always match the coating to the exposure class.
How to select the right nail for your project
Understanding nail varieties allows you to confidently match fastener to application. Here is a practical, step-by-step approach for making that call in the field.
Steps for selecting the right nail:
- Identify your timber species and joint group. Hardwoods like spotted gum or blackbutt sit in higher joint groups and demand longer nails with greater penetration. Softwoods like pine are more forgiving but still require correct sizing.
- Assess exposure conditions. Is the timber indoors, in a covered outdoor area, or fully exposed? Coastal environments within one kilometre of the ocean require hot-dipped galvanised or stainless steel nails as a minimum.
- Determine load requirements. Structural connections carrying shear or withdrawal loads need ring shank or larger diameter nails. Finish work and light cladding can use plain shank.
- Select the correct nail size. Key parameters for selection include penetration depth, nail size, timber grade and moisture, and joint type. Always check Tables 4.1 and 4.2 of AS 1720.1 for the minimum requirements.
- Choose the right corrosion protection. Match the coating to the service class. Dry interior work can use bright or electro-galvanised. Wet or outdoor work needs hot-dipped galvanised. Coastal or highly corrosive environments may require stainless steel.
- Confirm tool compatibility. Coil nails and T-nails are tool-specific. Make sure your pneumatic nailer accepts the collation angle and nail gauge you have specified.
AS 1720.1 specifies minimum penetration depths and nail spacing based on timber joint group and service class. Always verify these values before installation, particularly when switching between timber species or moisture conditions on the same job.
Pro Tip: Never overlook joint group ratings. Builders who skip this step often use nails that are technically too short or too thin for the timber they are working with. The result is a joint that looks fine but fails under load. For more detail on matching fasteners to specific applications, the guide on essential construction fasteners covers this well.
Practical installation tips and common pitfalls
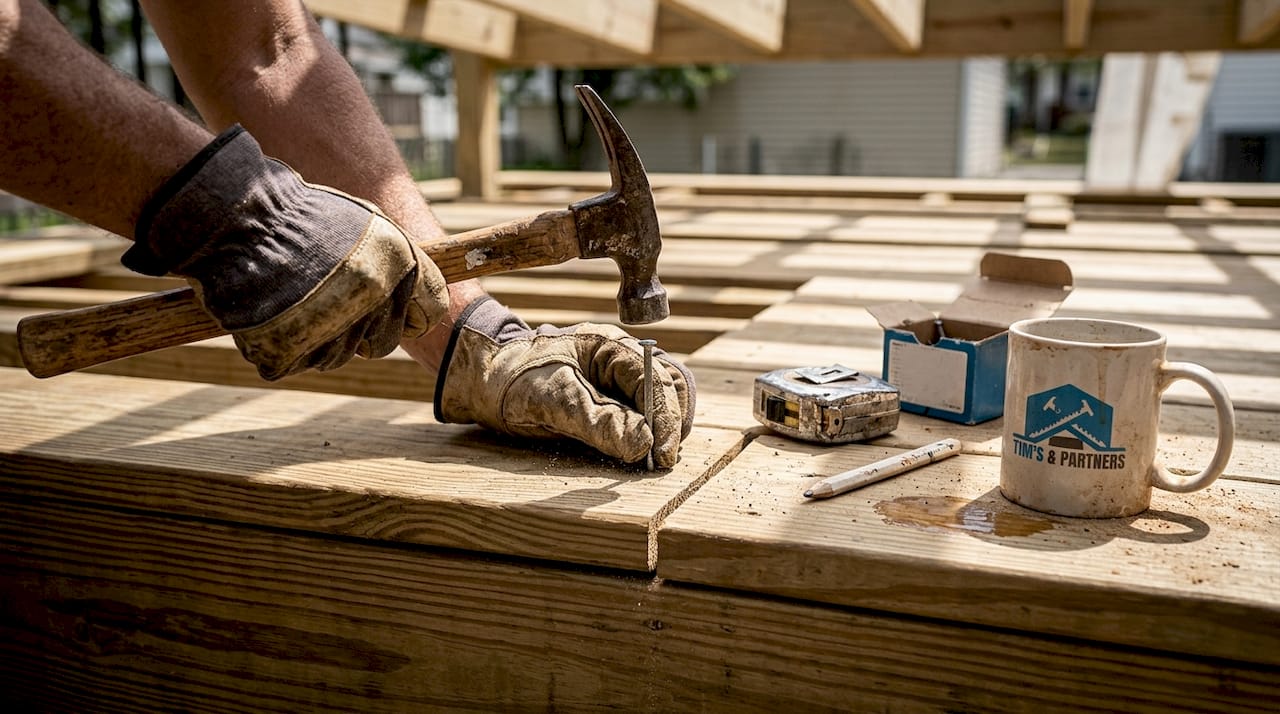
Choosing the right nail is half the battle. How you drive it determines whether the joint performs as designed.
Key do’s and don’ts for nail installation:
- Do check penetration depth before starting. The nail must reach the minimum embedment in the receiving member, not just pass through the first piece of timber.
- Do maintain correct spacing. Nails placed too close to edges or to each other reduce the joint’s load capacity and can cause splitting.
- Do pre-bore to 80% of nail diameter for split-prone timber as per AS 1720.1. This is non-negotiable in dense hardwoods.
- Don’t over-drive nails with a pneumatic gun. Countersinking the head past the timber surface damages the wood fibres and reduces the nail’s holding capacity.
- Don’t under-drive nails either. A proud nail head creates a weak point and can be a safety hazard in flooring and decking applications.
- Don’t use bent or corroded nails from old stock. Compromised nails do not perform to specification and can fail unpredictably.
- Do adjust your nailer’s pressure settings when switching between timber species. Hardwood needs more driving force than softwood.
Correct penetration and spacing are not just technical niceties. They are what allow the joint to transfer load as the engineer intended. A nail driven at the wrong angle, too shallow, or too close to the edge behaves differently under stress than the standard assumes.
Pro Tip: To avoid splitting when nailing close to the end of a board, blunt the nail tip slightly by tapping it with a hammer before driving. A blunt tip punches through fibres rather than wedging them apart, dramatically reducing the risk of a split. This old-school trick is still one of the most effective on the job.
For a deeper look at how nail choice and installation interact across different woodworking fastener choices, the right fastener for the right application always starts with understanding both the material and the method.
A seasoned builder’s take: Where nail choice goes wrong (and right)
After years of seeing Australian worksites up close, the pattern is consistent. The jobs that generate callbacks almost always involve a fastener decision that was made quickly, without checking the spec. A builder grabs whatever nails are in the van, drives them into hardwood without pre-boring, and uses interior-grade coatings on a deck that faces the afternoon sun and coastal salt air. Six months later, the timber splits, the joints loosen, and the phone starts ringing.
The hidden cost here is not just the repair. It is the reputation damage, the wasted labour, and the time spent arguing over who is responsible. Getting the nail right from the start costs almost nothing extra. The spec is there in AS 1720.1. The products exist. The only missing ingredient is the discipline to check before you drive.
What the best builders we work with share is a habit of treating fastener selection as seriously as they treat their structural timber choice. They know their joint groups, they match their coatings to their exposure class, and they never assume that what worked on the last job will work on this one. That discipline, more than any single product or tool, is what separates durable builds from problem ones. For real-world context on how this plays out across different timber applications, the real jobsite fastener stories are worth a read.
Find the right nails and fasteners for your next project
Now that you know what to look for, finding the right products should be straightforward. At Aussie Nails and Fasteners Warehouse, we stock a curated range of nails and fasteners built to meet Australian standards, from hot-dipped galvanised ring shank nails for structural decking to high-volume coil nails for pneumatic framing guns.
Browse our full range of construction tools and fastening equipment to find what your next job demands. Whether you need a specific nail gauge, a corrosion-resistant coating, or a bulk supply of T-nails for a framing run, you can shop all nails and fasteners online with confidence. Our team is also available to help you match the right product to your application, so you get it right the first time.
Frequently asked questions
What is the main Australian standard for nails in timber construction?
AS 1720.1:2010 is the primary standard, specifying characteristic capacities and requirements for timber nail connections across all joint groups and service classes in Australia.
When should I use galvanised nails in building?
Use galvanised nails for any outdoor, exposed, or moisture-prone application. Hot-dipped galvanised is the minimum requirement for structural outdoor work, with stainless steel needed in coastal or highly corrosive environments.
What nail type is best for hardwood framing?
Ring shank or hardened steel nails are the right choice for hardwood framing. Ring shank nails deliver empirically superior withdrawal resistance, which is critical when working with dense Australian hardwoods.
Do I need to pre-drill holes for nails?
In split-prone or dense timbers, yes. AS 1720.1 requires pre-boring at 80% of the nail diameter to prevent splitting and maintain joint integrity during and after installation.
Recommended
- Essential fastener types for Australian construction: 8 key picks – Aussie Nails and Fasteners Warehouse
- Best woodworking fastener types for Australian projects – Aussie Nails and Fasteners Warehouse
- Understand fastener durability: Build stronger Australian projects – Aussie Nails and Fasteners Warehouse
- Best metal fastening solutions for Australian projects 2026 – Aussie Nails and Fasteners Warehouse