

TL;DR:
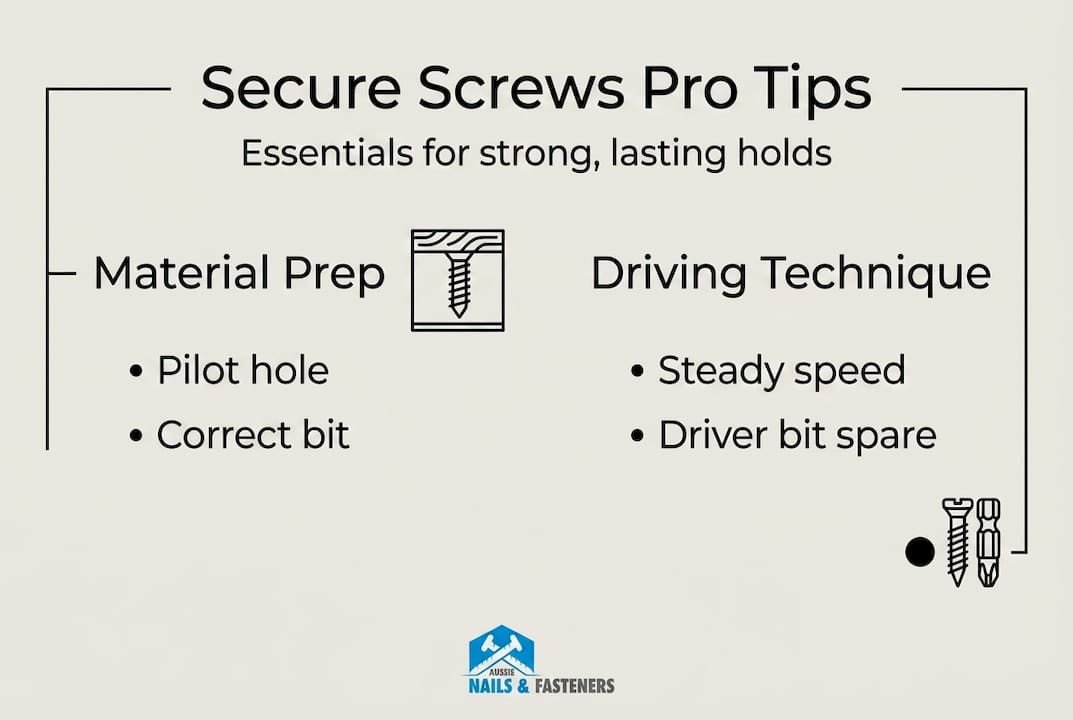
- Proper tool choice and material matching are essential for secure screw installations.
- Prepping surfaces, markings, and using appropriate pilot holes improve joint strength.
- Driving screws at low speed with correct technique prevents damage and ensures lasting hold.
Stripped screw heads, split timber, and fixings that spin freely in the hole are among the most frustrating setbacks on any build or renovation. Whether you’re hanging a deck, fitting cabinetry, or tackling a weekend repair, a screw that won’t hold properly wastes time and can compromise the structural integrity of your work. The good news is that most of these problems come down to technique, material matching, and preparation, not bad luck. This guide walks you through everything from tool selection to final checks, giving you trade-level results on every job.
Table of Contents
- Gather the right tools and materials
- Prep your materials for a secure fit
- Drive screws for maximum holding strength
- Verify and troubleshoot screw security
- A professional’s take: Secure screws aren’t always about pilot holes
- Get the best tools and screws for every job
- Frequently asked questions
Key Takeaways
| Point | Details |
|---|---|
| Right tools matter | Quality tools and screws make installation smoother and more reliable. |
| Preparation prevents problems | Prepping material and marking positions ensures better screw grip and avoids splitting. |
| Control your driving speed | Starting slow with the drill keeps screws straight and prevents cam-out or stripping. |
| Verify for lasting results | Check screw tightness and placement to fix issues before they cause bigger failures. |
| Standards improve safety | Following AS 1720.1 guidelines means stronger, safer connections for Aussie builds. |
Gather the right tools and materials
Good screw installation begins well before you pick up a driver. Having the right gear on hand is not just about convenience; it directly determines whether your screws hold or fail under load.
Here’s what you need for most screw installation jobs:
- Drill or impact driver with variable speed control
- Pilot drill bits sized to match screw core diameter
- Quality screws suited to the material and load requirements
- Wall plugs or anchors for masonry, old plaster, or crumbling substrates
- Washers to spread load and prevent screw head embedment
- Safety glasses (non-negotiable on every job)
- Pencil and tape measure for marking hole positions
Matching your screws to the job is just as important as any technique. Structural timber requires hardened, coarse-thread screws with adequate shank length, while fine-thread screws suit sheet metal and thin steel. For outdoor or exposed applications, use Class 3 or stainless steel screws to resist corrosion. When working with composite materials or engineered timber, check the manufacturer’s recommendation because the wrong fastener can void your warranty. You can explore different woodworking fastener types to match the right screw to your specific material.
| Material | Recommended screw type | Pilot hole needed? |
|---|---|---|
| Hardwood (e.g., spotted gum) | Coarse thread, hardened | Yes, always |
| Softwood (e.g., treated pine) | Coarse thread, general purpose | Often not needed |
| Sheet metal | Fine thread, self-tapping | Yes, small clearance hole |
| Masonry/brick | Masonry screw + anchor | Yes, with SDS bit |
| Plasterboard | Fine thread drywall screw | No |
The question of when to pre-drill comes up constantly. As a general rule, pre-drill pilot holes matching the screw core diameter in hardwoods, dense materials, and near edges to prevent splitting and ensure thread grip. In dry softwoods like treated pine away from edges, you can often skip the pilot hole for a tighter fit via displaced fibres.
Pro Tip: When buying pilot bits, use a bit gauge or hold the bit against the screw shank. The bit should cover the core but not the thread. That gap is what creates grip.
Prep your materials for a secure fit
With your tools and materials assembled, the next focus is preparing your surfaces and fixings correctly. Rushing this stage is where most amateur mistakes happen, and the consequences only show up later when joints loosen under load.
Follow these steps for a solid foundation every time:
- Mark your hole positions clearly with a pencil. Use a square to keep lines true and a tape measure for consistent spacing.
- Respect edge distances. A minimum 25mm from timber ends is standard practice to avoid splitting and to maintain joint strength.
- Drill pilot holes in hardwoods or near edges, matching your bit to the screw core diameter as noted above.
- Clean the hole with a quick blow or brush to remove dust that can reduce anchor performance.
- Insert plugs or anchors where the substrate is crumbling, old, or masonry-based. Tap them flush and let them seat fully before driving the screw.
- Place washers under the screw head where load distribution is important or where the material is soft enough to allow head embedment.
Here’s a quick reference for pilot hole sizing by material:
| Screw diameter | Pilot hole for hardwood | Pilot hole for softwood |
|---|---|---|
| 3.5mm | 2.5mm | Skip or 2.0mm near edges |
| 4.0mm | 3.0mm | Skip or 2.5mm near edges |
| 5.0mm | 3.5mm | Skip or 3.0mm near edges |
| 6.0mm | 4.5mm | Skip or 4.0mm near edges |
For load-bearing applications or where multiple fixings are used together, space screws appropriately and use washers to spread load and prevent embedment. Getting this right before driving a single screw is the kind of workflow for home fasteners that separates reliable results from frustrating callbacks.
Pro Tip: For screws going into crumbling or old masonry, use a two-part epoxy anchor system rather than a standard plug. The chemical bond far outperforms mechanical plugs in aged materials.
Drive screws for maximum holding strength
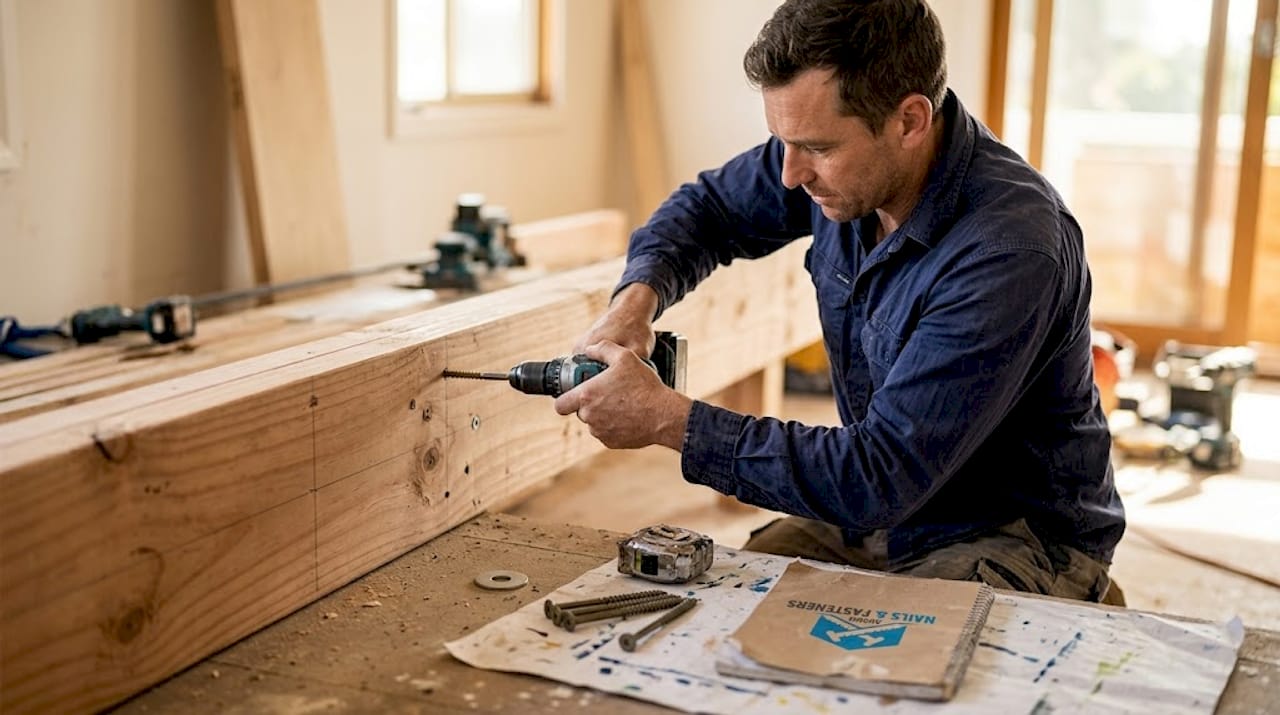
After your preparation, it’s time to drive the screws for a secure, durable hold. This is where speed, pressure, and angle all matter simultaneously.
Follow these steps for professional results:
- Set your drill to low speed and position the screw tip in the pilot hole or marked point.
- Apply firm, steady pressure directly inline with the screw axis to keep the bit seated.
- Start driving slowly to let the thread engage without cam-out before increasing speed.
- Set your clutch to a torque appropriate for the material. Soft timber needs a lighter setting than dense hardwood or structural fixings.
- Drive to flush or just below the surface. Stop the moment you feel resistance drop, which signals the screw is fully seated.
Common mistakes to avoid:
- Driving too fast from the start, which causes the bit to skip off the drive and rounds the head
- Using worn or undersized bits, which is the single biggest cause of cam-out
- Applying sideways force when the screw is near set, which can snap the shank
- Ignoring clutch settings and relying on feel alone, especially with an impact driver
Drive screws at low speed initially to engage threads without cam-out, then gradually increase. Use a drill clutch to prevent over-driving, which crushes the substrate and reduces holding strength.
A stripped drive recess or sunken screw head is not just cosmetic. It signals that the substrate material around the fixing has been compromised. For structural or construction fastening jobs, this can reduce your holding strength significantly and may require rework.
Pro Tip: Always keep a spare set of new driver bits in your belt pouch. A bit that’s even slightly worn transfers far less torque cleanly and dramatically increases your risk of cam-out. Replace bits regularly, not just when they snap.
Verify and troubleshoot screw security
Once your screws are driven, checking your work ensures lasting strength and keeps safety front of mind. This step is especially important for load-bearing applications.
Here’s how to check screw tightness and holding power:
- Wiggle test: Apply lateral force to the fastened piece. Any movement signals insufficient fixing.
- Visual check: The screw head should sit flush or just below the surface without crushing fibres around it.
- Listen: A hollow or soft sound when tapping near the fixing point can indicate the substrate has been damaged.
- Check alignment: Screws driven at an angle lose a significant portion of their holding strength.
Common problems and their fixes:
- Spinning screw (hole too large): Insert a wooden toothpick or matchstick with wood glue, let it cure, then re-drive into the reinforced hole.
- Stripped drive head: Use a screw extractor bit and replace with the next size up.
- Crushed substrate around the head: Remove the screw, fill with an epoxy-based wood filler, and re-fix once cured.
- Insufficient grip in soft material: Add a washer or step up to a larger diameter screw.
For structural or load-bearing work, AS 1720.1 governs timber design including characteristic withdrawal capacities, minimum end distances, and maximum tensile loads per screw diameter. This standard is your reference point for specifying the right fixing on any engineered or structural timber job. A detailed breakdown of load-bearing fastener requirements is worth reviewing before you start any structural project.
Pro Tip: For critical joints, drive a second screw a minimum of 25mm from the first and offset slightly. The load distribution from two well-placed screws dramatically outperforms a single larger fixing.
A professional’s take: Secure screws aren’t always about pilot holes
Here’s something that surprises a lot of people new to the trade: pre-drilling is not always the right call, and in some situations it actively reduces grip strength. In treated pine and many other softwoods, the screw thread displaces wood fibres as it drives, which actually tightens the connection. Drill a pilot hole and you remove that material, leaving the thread with less to grip.
The nuance is understanding your timber. Pilot holes benefit hardwoods by reducing splitting risk, but in many softwoods away from edges you get a measurably tighter fit without one. The principle works for both DIYers and tradespeople once you start paying attention to how different timbers respond under the bit.
What consistently separates professional results from amateur ones is not tool cost or years of experience. It’s starting every screw slowly, matching technique to timber type, and learning to read the feedback the material gives you. Shortcuts backfire, sometimes immediately, sometimes after six months when a deck rail shifts under load. Trust the method and check your work. If you’re selecting the right fastener for your next build, exploring our screw types guide is a solid starting point.
Get the best tools and screws for every job
Armed with these techniques, choosing trustworthy tools and screws makes every job run more smoothly and delivers results that actually last.
At Aussie Nails and Fasteners Warehouse, we stock a wide range of quality screws across every material category, from structural timber fixings to fine-thread drywall options. Our range of reliable tools includes everything from variable-speed drills to professional-grade driver bit sets that hold their edge longer. Using the right product from a trusted Australian supplier is not just about convenience; it’s about knowing your fixings will perform under pressure, every single time. Browse our full range online and get the right gear for your next build.
Frequently asked questions
When do I need to use a pilot hole for securing screws?
Use a pilot hole in hardwoods or near edges to avoid splitting and for better screw grip, but often skip it for softwoods away from edges where displaced fibres create a tighter fit.
What’s the recommended distance from the edge for screwing into timber?
Keep screws at least 25mm from the end of timber to prevent splitting and weakening of the joint.
How do I stop screws from stripping the wood or camming out?
Drive slowly at first to let threads engage, then gradually increase speed, and always use a drill clutch to avoid over-driving that crushes the substrate.
What should I do if a screw hole becomes loose or stripped?
Insert a wooden plug, toothpick, or matchstick with a drop of wood glue, let it cure fully, then re-drive the screw into the reinforced hole or step up one screw diameter for a secure fit.
Are there any Australian standards for screw installation?
Yes, AS 1720.1 sets limits on timber screw withdrawal capacities, minimum end distances, and tensile load ratings to ensure safety and reliability in structural applications.
Recommended
- How to install screws for strong, secure results every time – Aussie Nails and Fasteners Warehouse
- Top construction fastening tips for secure, lasting builds – Aussie Nails and Fasteners Warehouse
- How to troubleshoot fastening issues: 5 practical steps – Aussie Nails and Fasteners Warehouse
- Why screw thread type matters: strength in every build – Aussie Nails and Fasteners Warehouse