

TL;DR:
- Choosing the correct staple gun type and matching staples to environmental conditions ensures reliable fastening.
- Safety precautions, proper preparation, and testing are essential to prevent accidents and ensure quality results.
- Using high-quality, environment-specific staples and tools compliant with Australian standards guarantees long-term performance.
Getting staple fastening wrong in Australian conditions can cost you far more than a box of replacement staples. A misfire can split timber, a corroded staple can fail underfloor insulation, and a mismatched tool can jam mid-job and leave you starting over. Whether you’re a tradie working on a new build or a weekend DIY enthusiast tackling a home project, reliable staple fastening comes down to three things: the right tool, the right staple, and the right technique. This guide walks you through every stage, from selecting your equipment and setting up safely, to fastening with confidence and verifying your results meet Australian standards.
Table of Contents
- Choosing the right staples and tools for your project
- Preparing for safe and effective staple fastening
- Step-by-step guide to staple fastening
- Quality assurance and compliance checks
- A nuanced perspective: beyond the basics for reliable staple fastening
- Your next step: find the right staples and tools
- Frequently asked questions
Key Takeaways
| Point | Details |
|---|---|
| Staple selection matters | Choosing the correct staple size and galvanised material is vital for lasting results. |
| Safety comes first | Always follow Australian electrical safety protocols and wear PPE for every job. |
| Match tools to tasks | Use the right staple gun type and specification for your application to avoid misfires. |
| Check compliance | Ensure your fastening approach aligns with AS/NZS standards for timber structures. |
| Troubleshoot early | Test staple fastening on scrap material to avoid costly mistakes. |
Choosing the right staples and tools for your project
With the challenge clearly stated, let’s start by picking the right fastening staples and tools for your job. The first decision is your staple gun type. Staple guns for construction come in manual, electric, and pneumatic types, and matching your staples to your tool’s specifications is the single most important step to avoiding misfires. Manual guns suit light upholstery and paper-based jobs. Electric models handle mid-range tasks like insulation and carpet underlay. Pneumatic guns deliver the most consistent driving force and are the preferred choice for high-volume construction work.
Beyond gun type, the staple itself matters enormously. Staple gauge, crown width, and leg length all affect how well the fastener grips the material. For general timber work, you’ll want to explore woodworking fastener types to match the right profile to your substrate. For broader structural applications, reviewing essential fastener types gives you a solid foundation before you buy.

Australia’s climate adds another layer of complexity. Coastal areas, high-humidity environments, and underfloor spaces all accelerate corrosion on standard steel staples. For these conditions, galvanised staples are recommended because the zinc coating resists rust and maintains grip over time. Electro-galvanised staples suit indoor and semi-exposed applications, while hot-dipped galvanised options are better for fully exposed or coastal environments.
Here’s a quick comparison to help you choose:
| Application | Recommended gun type | Staple type | Leg length |
|---|---|---|---|
| Upholstery and fabric | Manual | Fine wire | 6mm to 10mm |
| Underfloor insulation | Electric or battery | Galvanised T50 | 10mm |
| Timber framing | Pneumatic | Heavy wire galvanised | 16mm to 25mm |
| Coastal or outdoor use | Pneumatic or electric | Hot-dipped galvanised | Varies by load |
Key factors to check before purchasing:
- Crown width: Must match your tool’s magazine width exactly
- Gauge: Heavier gauge for structural work, finer gauge for delicate materials
- Coating: Galvanised for any outdoor, coastal, or underfloor application
- Pack size: Larger packs reduce downtime on bigger jobs
Pro Tip: Always check the tool manufacturer’s staple compatibility chart before buying in bulk. A staple that’s 0.1mm too wide will jam constantly and can damage the magazine.
Preparing for safe and effective staple fastening
Once you have the right tools and staples, it’s time to prepare your work area and understand safety essentials. Skipping this stage is where most accidents and costly mistakes happen.
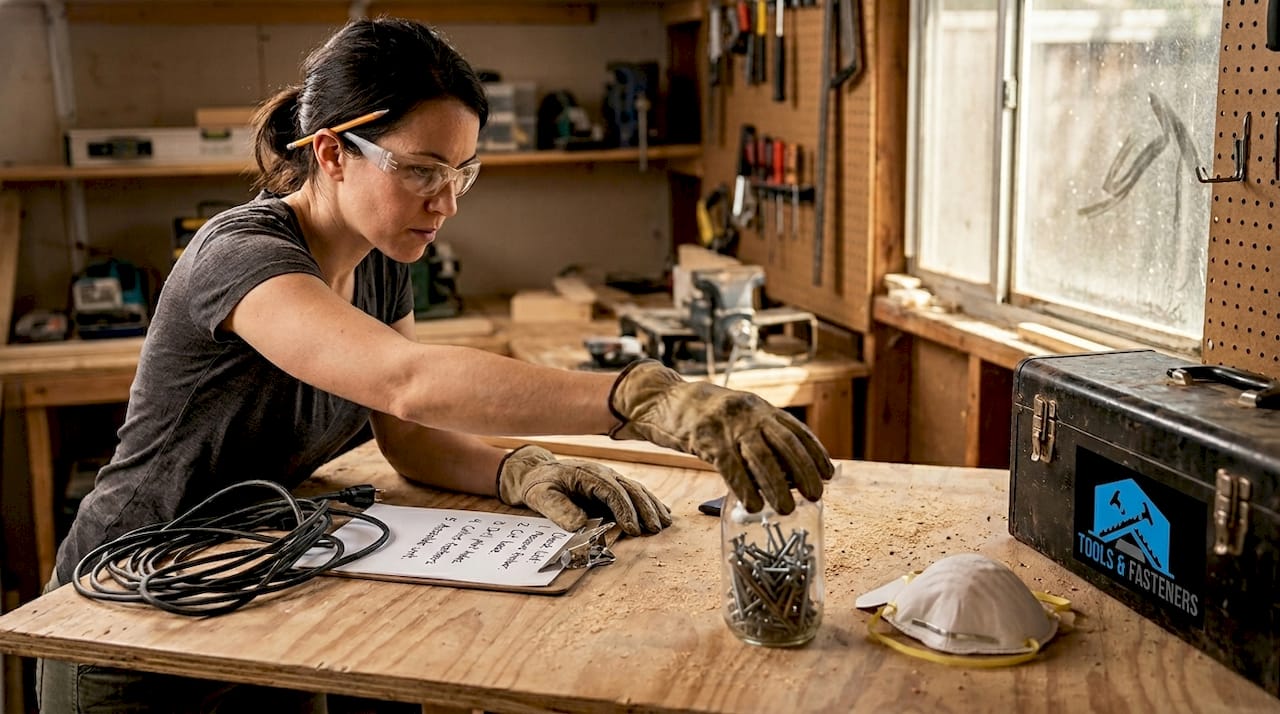
Start with your personal protective equipment. Safety glasses are non-negotiable because misfired staples travel fast and unpredictably. Gloves protect your hands during loading and when clearing jams. For underfloor work, add knee pads and a head torch to your kit.
Workspace preparation is equally important. Clear the area of loose materials that could catch a misfired staple. For electric staple guns, check that your extension lead is rated for the tool’s amperage and that the lead itself is undamaged. Most critically, always use an RCD (Residual Current Device) with any electric staple gun, especially for underfloor insulation work where live electrical circuits may be nearby. The RCD cuts power within milliseconds if a fault is detected, which can be the difference between a shock and a fatality.
Safety reminder: Never use a metal-bodied manual staple gun for underfloor insulation. The risk of electrocution from contact with concealed wiring is real. Always use a double-insulated electric or battery-operated stapler with an RCD in place.
Loading your staple gun correctly sets up every shot that follows. Follow these steps:
- Disconnect the power source or remove the battery before loading
- Locate the magazine release and open the staple channel
- Insert the staple strip with the prongs (legs) facing downward
- Slide the strip fully into the channel until it seats against the stop
- Close the magazine securely and listen for the click
- Reconnect power and test on a scrap piece of the same material
The loading process must always be done with the gun disconnected, and you should never point the tool at any part of your body or at another person during or after loading. Good fastener installation practices reinforce these habits and extend the life of your tools. For long-term reliability, fastener durability advice is worth reviewing before you start any project in harsh Australian conditions.
Pro Tip: Always fire two or three test shots into scrap material before starting on your actual workpiece. This confirms the depth setting is correct and that the staple is seating flush, not proud or countersunk.
Step-by-step guide to staple fastening
With your equipment safely ready, you can now follow these steps to achieve secure staple fastening across the most common Australian construction and DIY applications.
- Mark your fastening line using a chalk line or pencil. Consistent spacing, typically 150mm to 200mm apart, ensures even load distribution.
- Position the staple gun squarely on the surface. Tilting the gun even slightly can cause the staple to drive at an angle, reducing grip strength.
- Apply firm, even pressure before firing. The nose of the gun must be flush with the material to prevent the staple crown from sitting proud.
- Fire a single shot and inspect the result before continuing. Check that the crown is flush and both legs have fully penetrated the substrate.
- Continue along the fastening line, maintaining consistent spacing and pressure throughout.
- Clear jams immediately by disconnecting power, opening the magazine, and removing the jammed staple with pliers. Never try to fire through a jam.
For underfloor insulation specifically, leave the circuit breaker on for safety lighting and safety switches while working, but ensure your RCD is active on the tool circuit. Hardwoods present a different challenge. Dense timbers like spotted gum or ironbark resist standard staple penetration, and you may need a higher-powered cordless stapler to achieve full seating.
A key statistic worth knowing: 10mm galvanised staples are the standard recommendation for hardwood and insulation applications because they balance penetration depth with holding strength.
Common use-case variations to keep in mind:
- Carpet underlay: Use 10mm to 12mm staples at 100mm spacing along edges
- Sarking and vapour barriers: Fine crown staples at 150mm centres to avoid tearing the membrane
- Timber battens: Heavy wire staples with 20mm legs for structural hold
- Wiring management: Insulated cable staples sized to the cable diameter
For load-bearing fastener applications, always confirm the staple’s rated holding strength matches the load requirement. Understanding trade-grade fastener qualities helps you avoid under-specifying on jobs where structural integrity matters.
Quality assurance and compliance checks
After fastening, it’s crucial to ensure your results meet both quality and compliance standards. A staple that looks flush may still be under-driven or sitting at an angle that compromises its grip.
Run through these quality checks after every session:
- Penetration depth: Both legs should be fully embedded with the crown sitting flush, not raised or countersunk
- Crown alignment: The crown should run parallel to the grain or fastening line, not at an angle
- Grip strength: Tug the fastened material firmly. There should be no movement or lifting at the staple point
- Spacing consistency: Measure several intervals to confirm even distribution
- Corrosion check: On any galvanised staple, look for scratches through the coating that could become rust points
For compliance, Australian Standards for professional fasteners apply broadly to timber structures under AS/NZS guidelines. While there is no single dedicated staple standard in Australia, the AS/NZS framework for timber buildings sets minimum expectations for fastener performance, material quality, and installation. Tradies working on licensed construction projects must ensure their fasteners and methods align with these requirements.
Here’s a practical compliance comparison:
| Check item | DIY standard | Trade/professional standard |
|---|---|---|
| Staple material | Electro-galvanised acceptable | Hot-dipped galvanised preferred |
| Penetration depth | Flush to surface | Flush, confirmed by pull test |
| Spacing | Approximate | Measured and documented |
| RCD use | Recommended | Mandatory for electric tools |
| Inspection | Visual only | Visual plus pull test |
For projects involving structural timber or load-bearing elements, reviewing heavy-duty fastener standards gives you a clearer picture of what’s required. Cutting corners on compliance checks is the fastest way to create liability on a job site or a safety hazard at home.
A nuanced perspective: beyond the basics for reliable staple fastening
Years of working with Australian builders and DIY enthusiasts have taught us something that most guides overlook: the biggest failures in staple fastening rarely come from poor technique. They come from underestimating Australia’s environment and overestimating the tolerance of cheap tools.
Conventional wisdom says any galvanised staple will do for outdoor work. That’s only half true. In coastal Queensland or the humid tropics, even electro-galvanised staples can show surface rust within a season. Hot-dipped galvanised is the only reliable choice in those conditions, and it’s a lesson most people learn after replacing failed insulation rather than before.
The other pattern we see constantly is tool-to-staple mismatch. Someone buys a budget staple gun and then grabs whatever staples are on sale. The result is chronic jamming, wasted time, and material damage. Investing in quality tools and compatible staples from the outset, like those from metal fastening solutions purpose-built for Australian conditions, pays for itself on the first big job. Trade professionals already know this. DIY enthusiasts are often still learning it the hard way.
Your next step: find the right staples and tools
When you’re ready to apply these techniques, sourcing reliable staples and tools makes the difference between a job done and a job done right.
At Aussie Nails and Fasteners Warehouse, we stock everything covered in this guide and more. Our electro galvanised staples are a popular choice for insulation and general construction, and our tools range includes pneumatic and electric staplers suited to both trade and DIY use. As an Australian-owned business, we understand local conditions and stock products that perform in them. Browse our full range of fastener solutions and get the right gear before your next project starts.
Frequently asked questions
What staple size should I use for hardwood?
10mm galvanised staples are the expert recommendation for hardwoods, as they penetrate securely without requiring excessive driving force that could split the timber.
How do I avoid staple gun jams and misfires?
Always match staples to tool specifications before loading, and fire a few test shots into scrap material to confirm the staple feeds and seats correctly before starting on your actual workpiece.
Are galvanised staples necessary outdoors or in coastal areas?
Yes, absolutely. Galvanised staples prevent corrosion and are the recommended choice for any Australian outdoor, underfloor, or coastal application where moisture exposure is likely.
Do staple guns need to meet Australian standards?
For structural applications, staple guns and fasteners should align with AS/NZS timber structure standards, even though no single dedicated staple standard currently exists in Australia.
What are the main safety precautions for electric staple guns?
Always connect through an RCD for electric staplers, wear appropriate PPE, and never use a metal-bodied manual gun for underfloor insulation work where live wiring may be present.
Recommended
- Master the workflow for home improvement fasteners – Aussie Nails and Fasteners Warehouse
- Fastener installation guide: expert tips for Australian projects – Aussie Nails and Fasteners Warehouse
- How to troubleshoot fastening issues: 5 practical steps – Aussie Nails and Fasteners Warehouse
- Essential fastener types for Australian construction: 8 key picks – Aussie Nails and Fasteners Warehouse